Screens menu
Screens overview
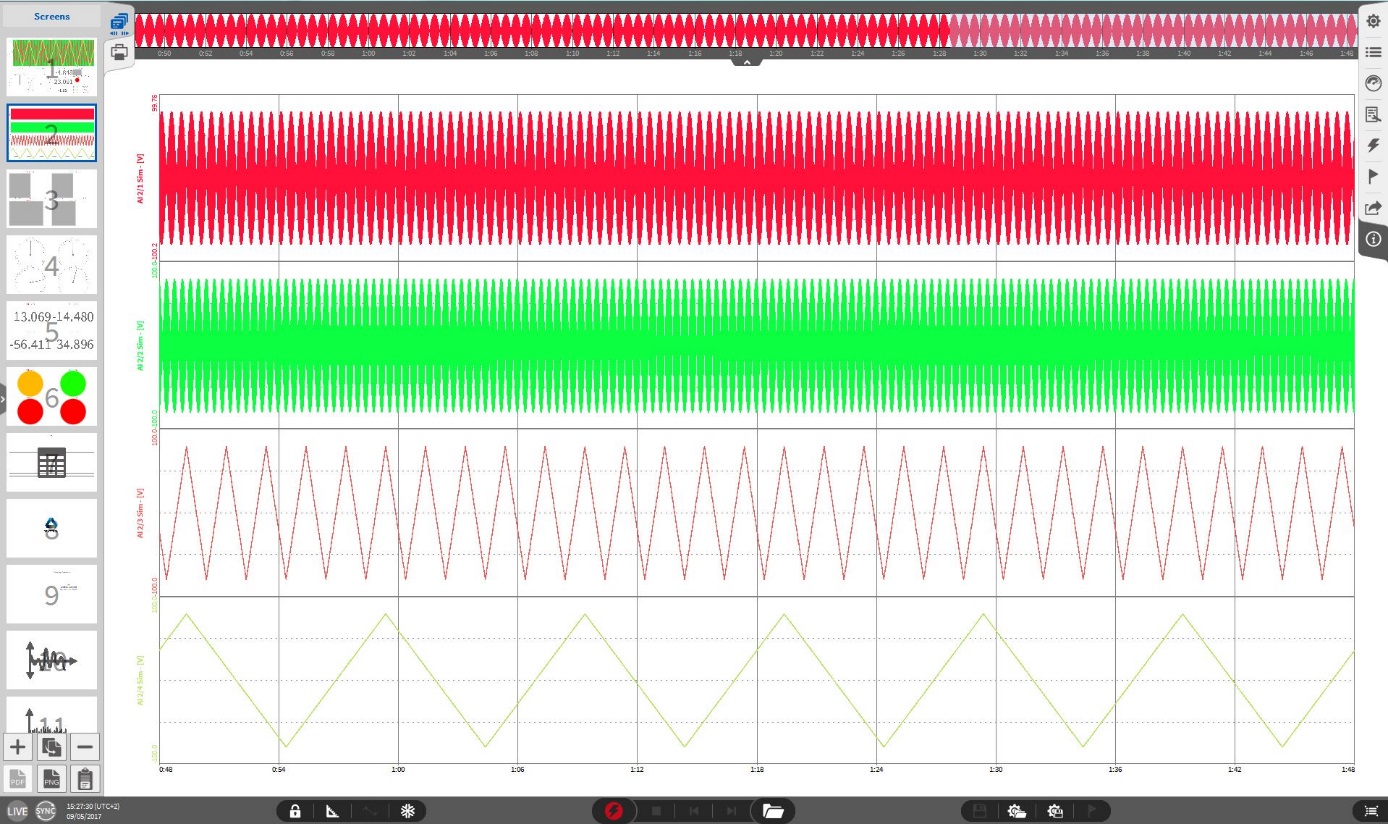
Fig. 616 Screens Menu - Overview
In the Screens menu, the user can organize its measurement screens. By a single click on the icon, a small overview about all created measurement screens will appear like it is shown in Fig. 616. The user can add and delete measurement screens by clicking on the + and – signs on the lower end of the Screens menu.
To change the currently displayed measurement screen, just click on the desired one in the overview. It is possible to change the order of several measurement screens by selecting the respective screen and keeping the mouse button pressed for 2 seconds. After two seconds, the blue frame will become bold. Now it is possible to change the order of the selected screens to any desired position by keeping the mouse button pressed and moving the screen.
If several monitors are used, it is possible to undock a screen and move it on another monitor. Therefore, the user must select the desired screen and keep the mouse button pressed for 2 seconds again. When the blue bold frame appears, the user can move the screen to another monitor and release it there.
The yellow cursor which is displayed in the Overview bar and the Recorders is linked to all instruments on any screen. I.e. If the yellow cursor is moved in a Recorder on screen 1, the value displayed in a Digital Meter on screen 3 will update according to the actual position of the yellow cursor position.
Additionally, measurement screens can be saved as a template to be reloaded later or transferred to other devices. This can be done via the “TPL” button left below the “+” button. The templates are saving the arrangement and configuration of the active screen at C:\Users\Public\Documents\Dewetron\Oxygen\Templates, from where they can be copied and transferred to other devices. To load a template, the magic wand button right to the “+” button must be used. In case an order analysis or power group was created in the channel menu, by default, a template for an order analysis/power group screen can be found also where other saved templates are located. More information can be found in the order analysis and power group manual.
Note
The system performance may slow down while the Screens menu is partially open.
The buttons on the lower end of the Screens Menu (see Fig. 617) have the following functionalities:
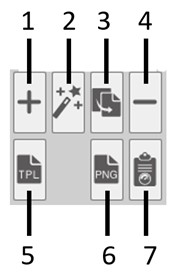
Fig. 617 Pushbuttons in the Screens Menu
No. |
Function |
Description |
|---|---|---|
1 |
Add Screen |
Add an empty measurement screen beyond the last screen |
2 |
Load Screen |
Previously saved configurations of measuring instruments can be loaded. |
3 |
Copy Screen |
Copy selected screen beyond the last screen |
4 |
Delete Screen |
Delete selected screen |
5 |
Save measurement screen setup |
The current arrangement and configuration of the measurement setup is saved as a template. |
6 |
Export selected screen |
Export selected screen as *.png or *.jpg-file |
7 |
Copy to Clipboard |
If no Instrument is selected, the actual screen will be copied to clipboard. If an Instrument is selected, only the selected Instrument will be copied to clipboard |
Saving the screen as video
When enlarging the Screens menu to the whole screen, the functionality Save Screen as Video is available in PLAY mode (see Fig. 618). When being in LIVE or REC mode, this functionality is grayed out.
To do so, click on the Screens menu bar and move it to the right side while keeping the mouse button pressed or double click on the Screens menu.
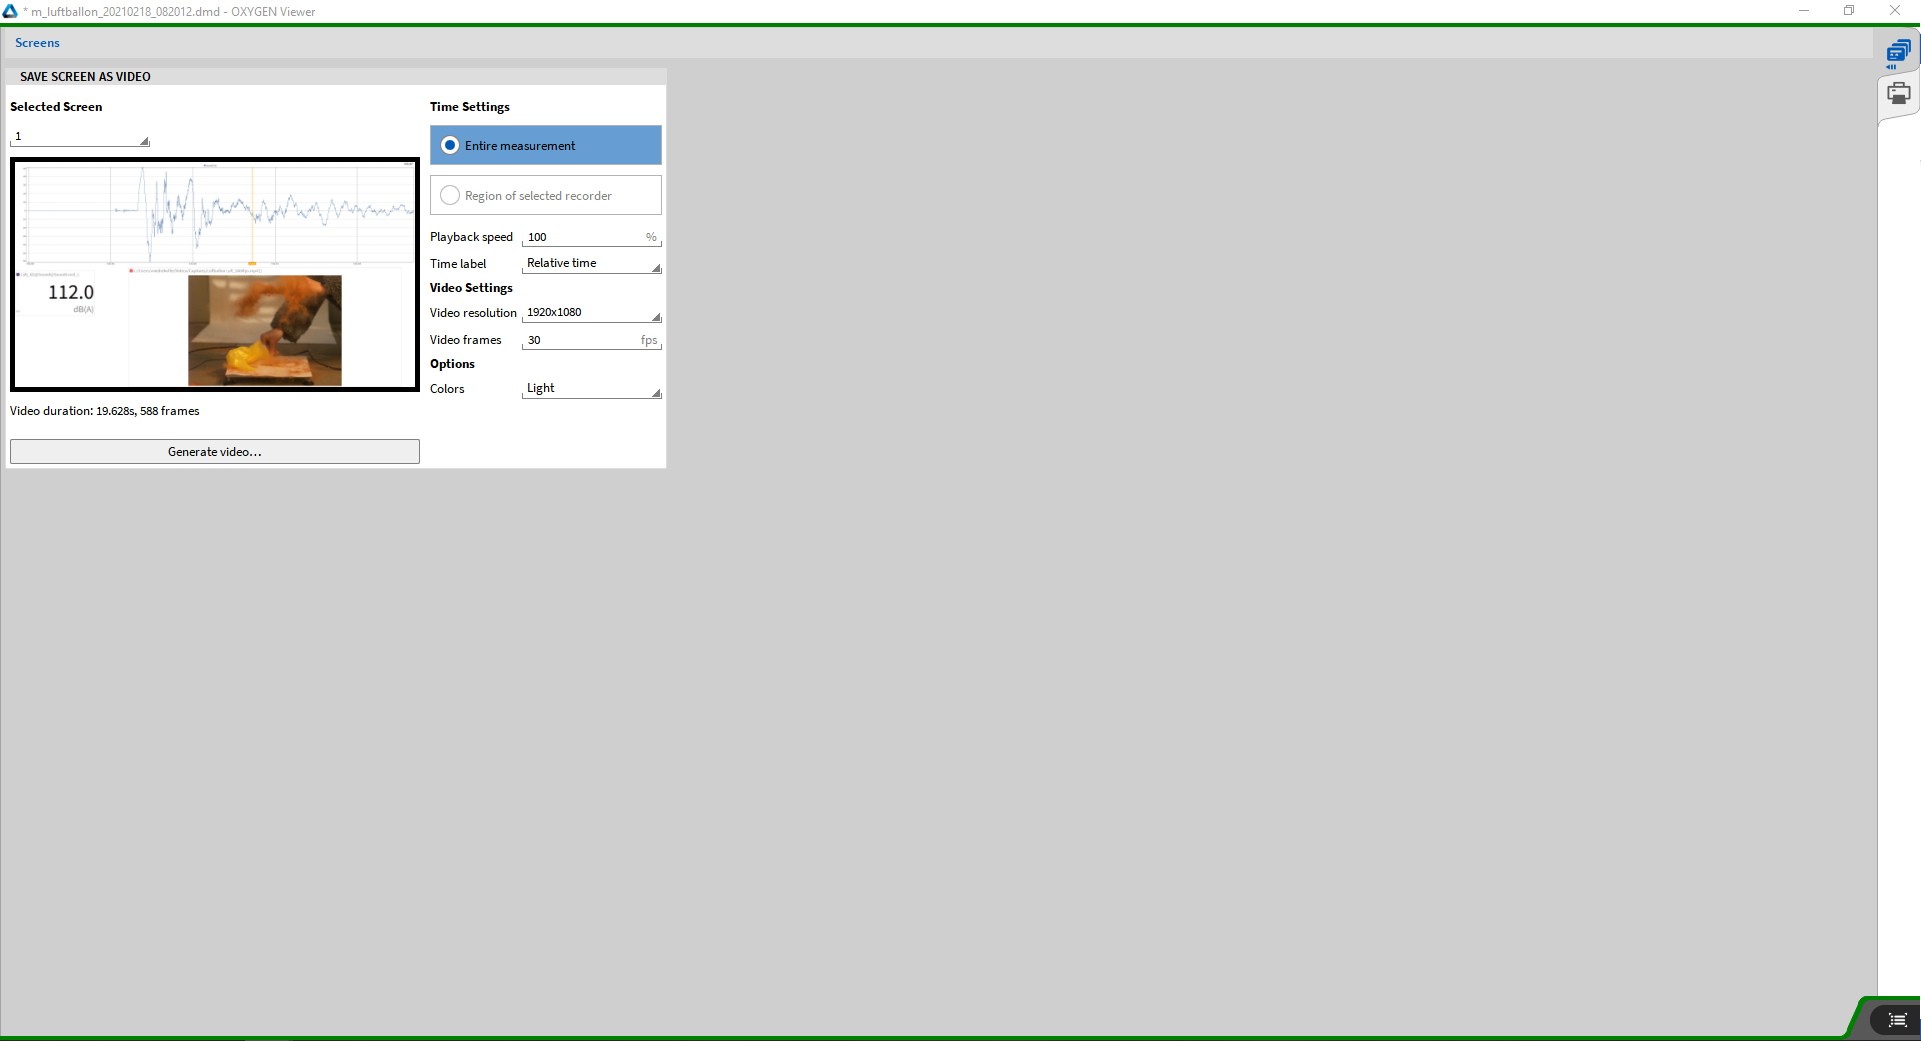
Fig. 618 Measurement screens enlarged to the whole screen
Fig. 619 shows a close-up of the available settings:
Selected Screen: Select a screen, which you want to use to make a video of.
Time Settings:
Choose if you want to make a video of the entire measurement or only the region of the selected recorder of this screen.
Note
A recorder must be selected for this option to be available.
The playback speed can be adjusted within a range of 0.1-100%, whereas 100% is the normal speed of the recording.
Select a time label: none, relative or absolute time.
Video Settings:
Select a video resolution (640x480, 1280x720, 1920x1080).
Select the video frames in fps (frames per second) within a range of 10-100.
Options:
The measurement background can be selected to have a light or dark color scheme.
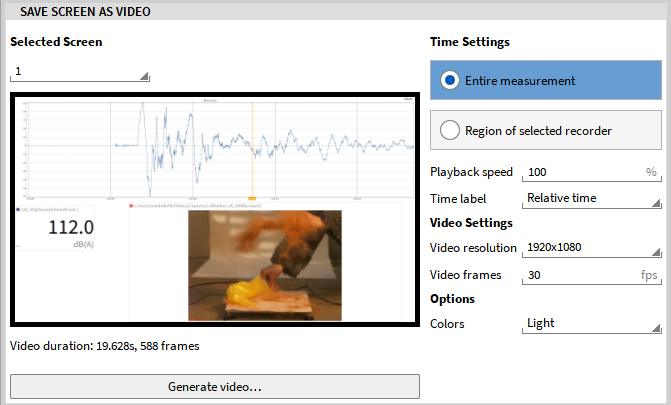
Fig. 619 Menu for the Save Screen as Video functionality
By clicking on Generate video, a name and location folder for the video can be defined. The video will be saved as *.mkv format.